

The Start‑Stop system has become a standard feature on many modern vehicles to reduce fuel consumption and emissions. However, many drivers notice that this functionality can deactivate unexpectedly. Understanding the possible causes and knowing how to perform a proper diagnosis is essential to maintain optimal vehicle performance.
1. Understanding the Start‑Stop System
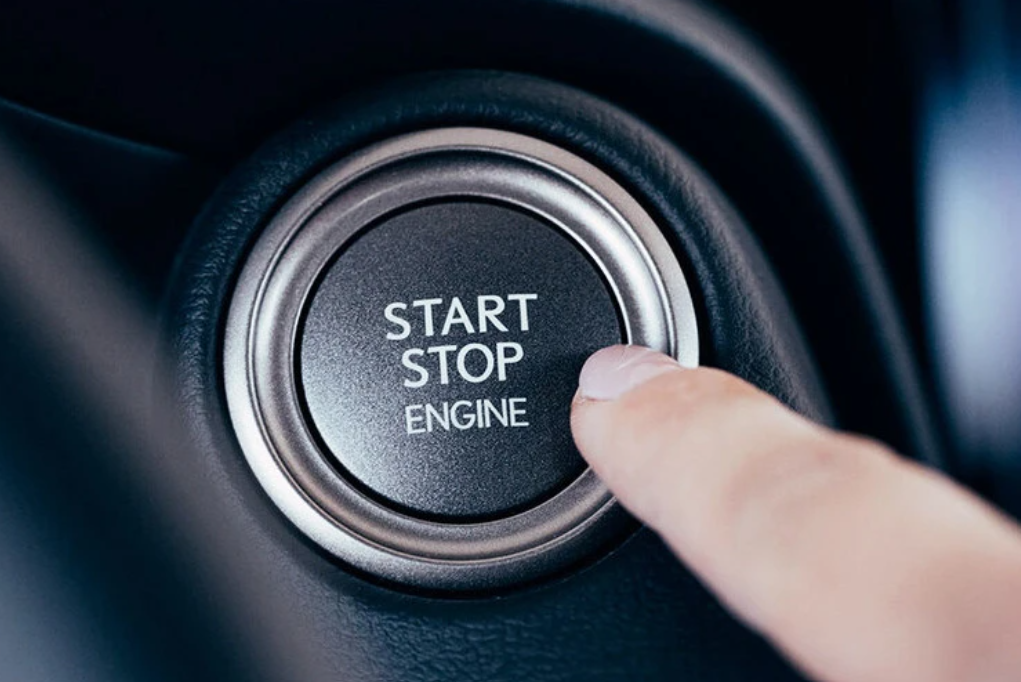
The Start‑Stop system automatically shuts off the engine when the vehicle is stopped (for example at a red light) and restarts it as soon as the driver releases the brake pedal or engages the clutch. It relies on several key components:
- High-capacity battery: Often AGM or EFB type, as these technologies support the frequent start/stop cycles required by Start‑Stop. An inappropriate or worn battery can cause automatic deactivations.
- Smart alternator: Recharges the battery according to the specific needs of a Start‑Stop system.
- Sensors and ECU (Electronic Control Unit): Monitor speed, battery charge state, engine temperature, and accessory usage (air conditioning, heating).
A system deactivation often occurs when one of these parameters is not optimal.
2. Common Causes of Deactivation
The system may automatically deactivate for several common reasons:
- Weak or faulty battery – a battery that cannot supply sufficient energy will cause Start‑Stop to stop working or block.
- Inappropriate engine temperature – Start‑Stop usually does not activate if the engine is too cold or too hot.
- Use of air conditioning or heating – high electrical demand can prevent engine shutdown to maintain comfort systems.
- Electrical issues or faulty sensors – brake, clutch, temperature, or battery management system (BMS) sensors can be involved.
- High electrical load with multiple accessories – heavy alternator or battery demands can deactivate Start‑Stop.
3. Diagnostic Procedures with HaynesPro
To precisely identify the cause, it is recommended to use a professional diagnostic solution like HaynesPro. This technical data platform provides detailed manufacturer information, guided OEM procedures, and full wiring diagrams to support diagnosis.
What HaynesPro Provides:
- Detailed wiring diagrams to quickly locate components and sensors.
- Manufacturer data with reference values for voltage, signals, and OEM thresholds.
- Guided testing and calibration procedures for Start‑Stop circuits and associated systems.
- Access to fault codes and OEM definitions for accurate error interpretation.
Typical Diagnostic Steps:
- Check the battery: health and voltage.
- Test sensors: compare actual signals to manufacturer values.
- Read fault codes from the engine ECU and Start‑Stop system.
- Simulate stop conditions to observe restarting behavior.
- Calibrate and reset the system after intervention.
4. HaynesPro Case Study: Compact Sedan with Start‑Stop Deactivation
Symptoms
- The Start‑Stop system no longer activates when stopped.
- Dashboard message: “Start‑Stop deactivated – check battery and sensors.”
- Recently tested battery shows OK on a voltmeter but behavior is intermittent.
Diagnostic via HaynesPro
✔ Full access to the complete Start‑Stop circuit wiring diagram.
✔ Manufacturer reference values:
- Minimum battery voltage at start: compliant with OEM thresholds
- Brake/clutch pedal signal: within normal manufacturer range
- Engine temperature and air conditioning thresholds accounted for
Results
- Battery: correct voltage but reduced actual capacity (State of Health 68%).
- Brake pedal sensor: slightly offset signal → non-OEM compliant.
- Engine temperature and electrical load: normal.
Solution
- Replaced battery with a new AGM unit (suitable for Start‑Stop cycles).
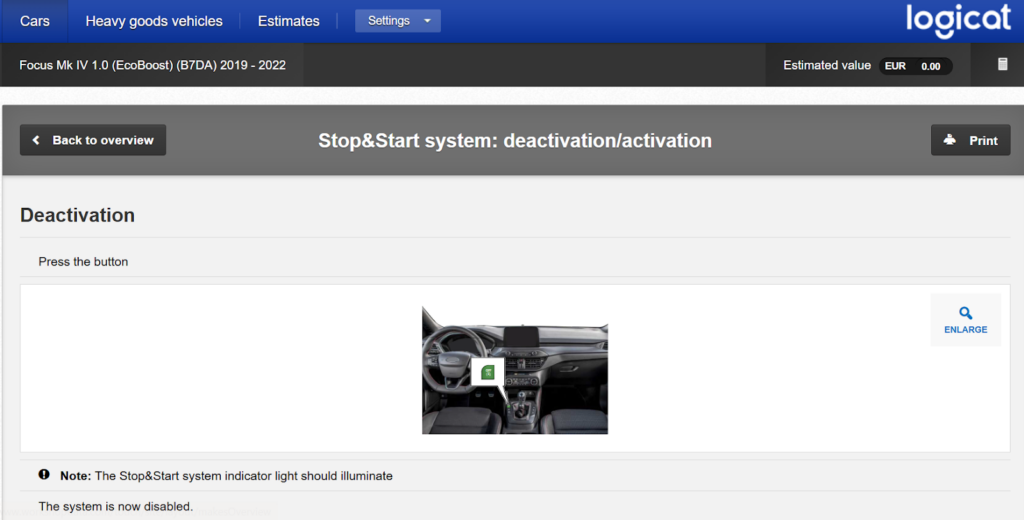
- Calibrated brake pedal sensor via HaynesPro.
- Reset the Start‑Stop system and performed road test.
- Post-intervention check: Start‑Stop system reactivated, smooth and reliable restarting.
⏱ Time saved using HaynesPro: ~40 minutes
- Avoided unnecessary replacement of components such as the alternator or ECU.
Possible Solutions Based on Diagnosis
- Battery replacement or upgrade to AGM/EFB
- Calibration or replacement of brake/clutch pedal sensors
- Alternator and charging system check
- Reset Start‑Stop module via HaynesPro
- ECU software update if necessary
5. Best Practices for Users
- Maintain battery and electrical system in good condition.
- Check fluid levels and engine temperature.
- Avoid excessive electrical load with multiple accessories.
- Follow manufacturer recommendations for Start‑Stop maintenance.
Deactivation of the Start‑Stop system does not necessarily indicate a fault but signals a parameter outside optimal range. With professional tools like HaynesPro, it is possible to quickly diagnose the cause and apply the necessary corrections, ensuring comfort, safety, and fuel efficiency.
Test HaynesPro and access OEM data for all vehicle types.